The first thing to do will be to download VirtualBox. If you would like to see a detailed walk though on installing VirtualBox, you can find that (here). You can find the current version for your platform on the VirtualBox website.
Downloading Ubuntu Server
The next thing to do is to download a copy of Ubuntu Server. You can find the current version on the Ubuntu Server Download Page.
Creating the New Virtual Machine
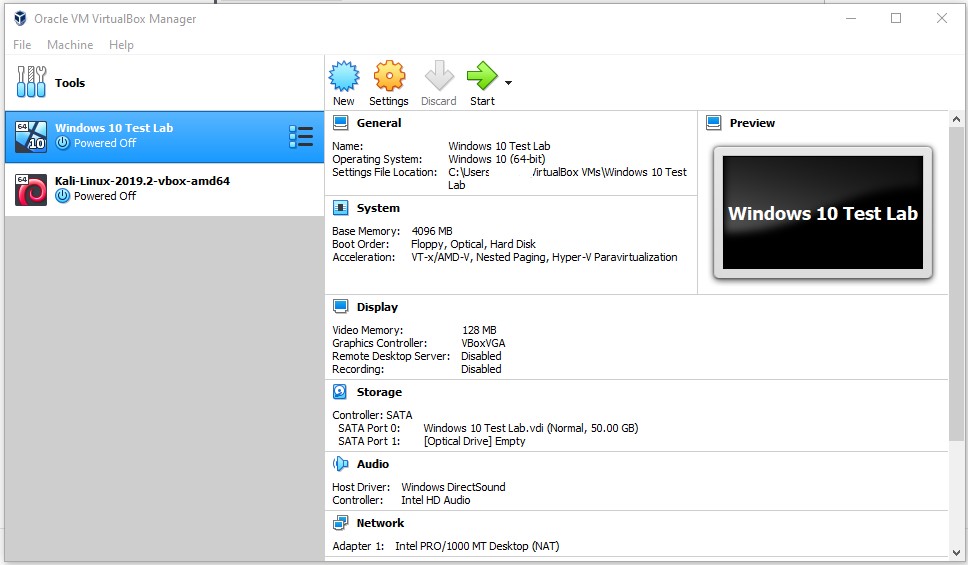
If you have not already installed VirualBox by following my (Installing VirualBox) article please make sure to do that now. If you have already done the install go ahead and open VirualBox up. This should open the VirtualBox manager. This is the interface from which you will administer all of your virtual machines. Your screen will not show any machines on the left hand side.
VirtualBox Manager
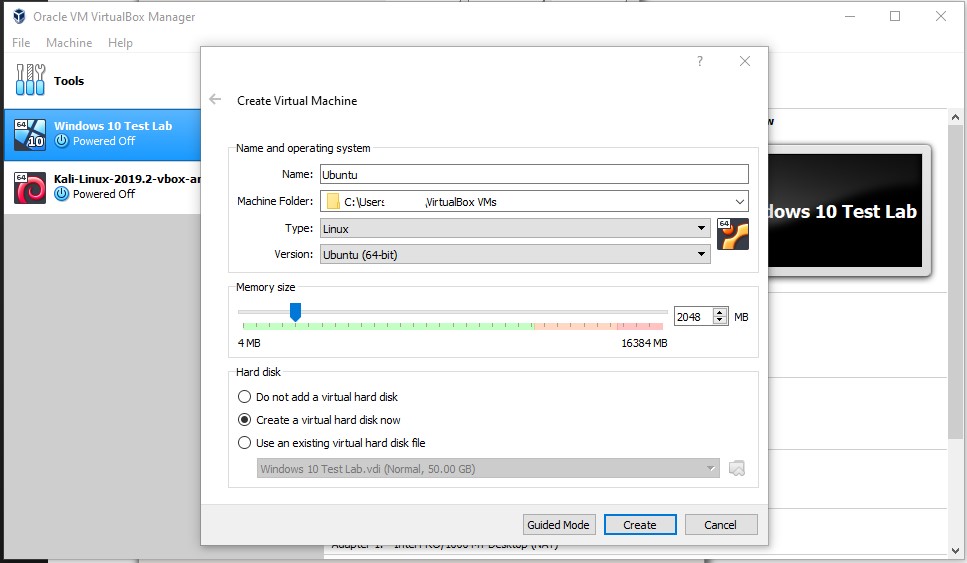
Next click on the “New” button (looks like a blue sun).
Give you virtual machine a name. If you name the machine “Ubuntu” the two drop down menus should automatically update . If they do not you will need to choose “Linux” in the “Type” drop down and “Ubuntu (64-bit)” in the “Version” drop down. The default for “Machine Folder” drop down will be adequate for this tutorial.
Now you will need to decide on the amount of RAM to allocate to this virtual machine. I am going to go with 2GB (2048MB) for this machine.
Last but not least you will need to ether create a new hard disk or use an existing virtual hard disk file. We will be creating a new virtual hard disk in this tutorial.
Select “Create” when you have made all the settings changes.
VirtualBox Manager Create Virtual Machine
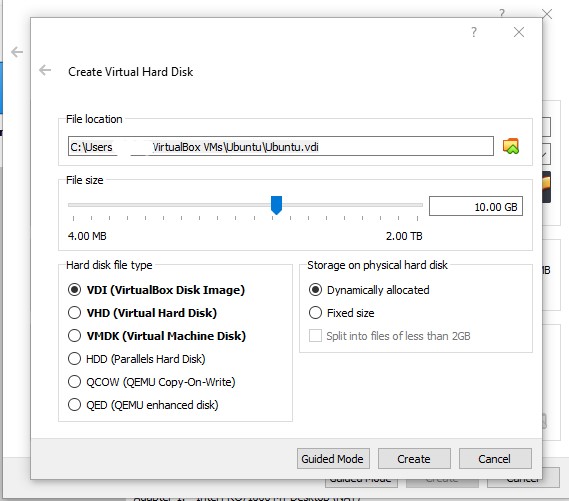
Now we will configure the Virtual hard disk. You can change the file location on this window as well. We are going to leave this as default.
We need to set the hard disk size. The size can really be what ever you choose as long as you meat the OS minimum requirements. For now we will select the default 10GB.
Make sure “VDI (VirtualBox Disk Image)” is selected.
Choose “Dynamically allocated” for the storage on physical hard disk. This will only use what the virtual machine is actually using. For example if the VM is only using 5GB and your VDI was set to 10GB. The actually size on disk is 5GB.
VirtualBox Manager Create Virtual Hard Disk
Install Ubuntu Server in the Virtual Machine
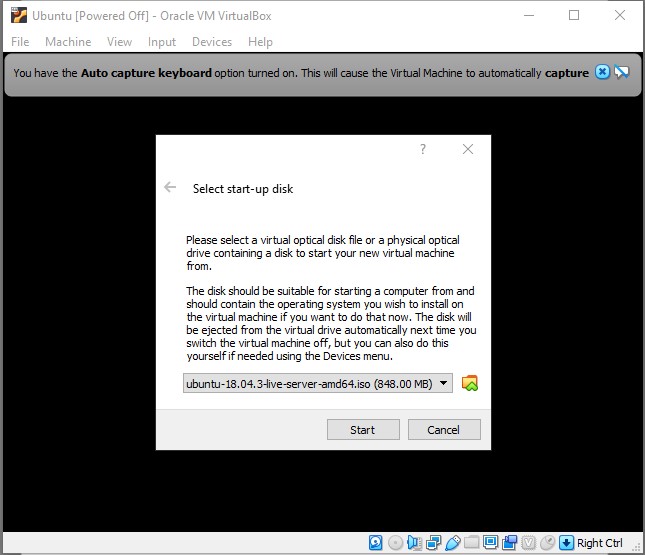
Select your new virtual machine on the VirtualBox Manager and press the “Start” button. VirtualBox Manager will now prompt you to select your iso file for Ubuntu.
The Ubuntu installation process will now begin. It consists of eleven steps and is quite painless.
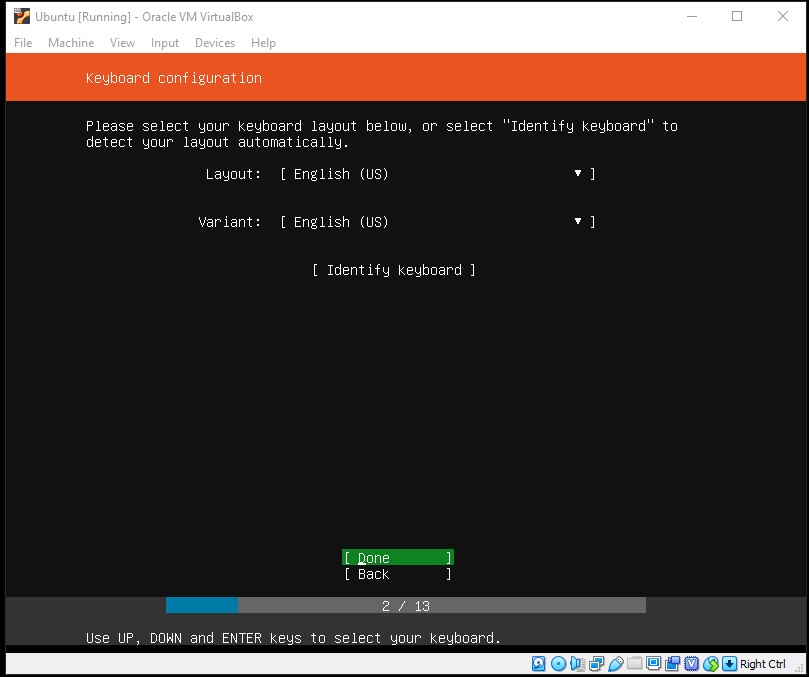
The Welcome Screen
Here you can select your preferred language.
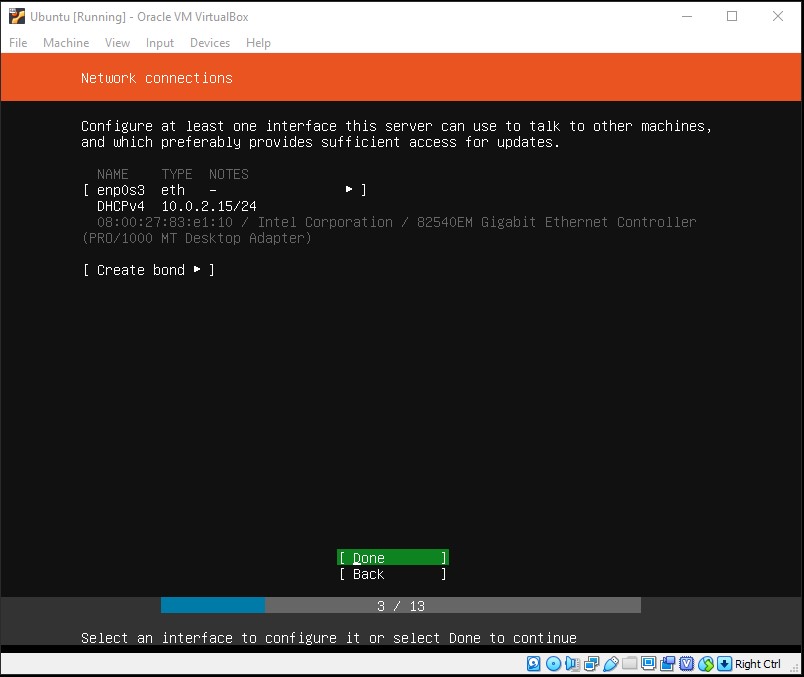
The Network Connections Screen
Here Ubuntu will attempt to configure the standard network interface. Normally you can just accept the default and select “Done”
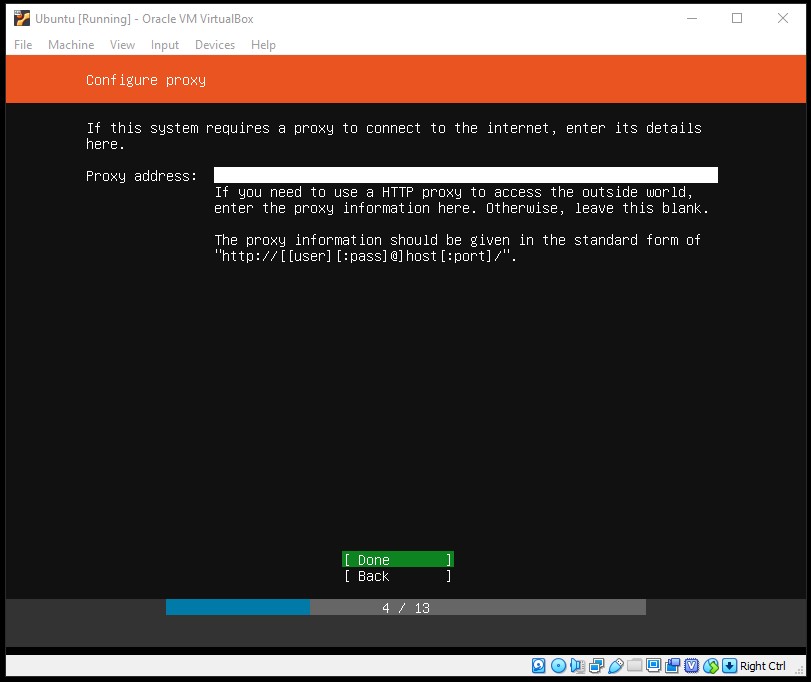
The Configure Proxy Screen
If your system requires a proxy to connect to the internet, enter its details on this screen.
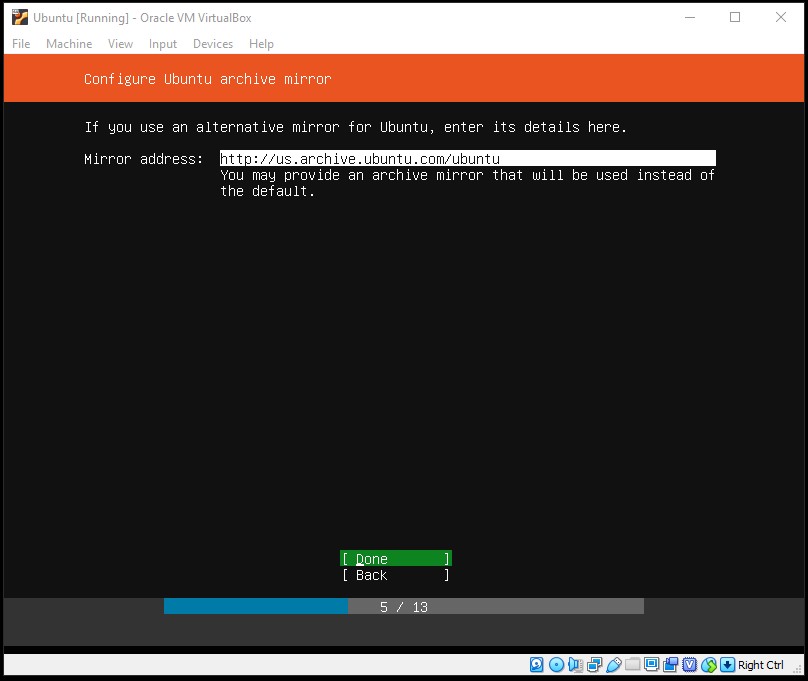
The Ubuntu Archive Mirror Screen
If you wish to use an alternative mirror for Ubuntu, you can enter the details here. Otherwise accept the default mirror by selecting “Done”
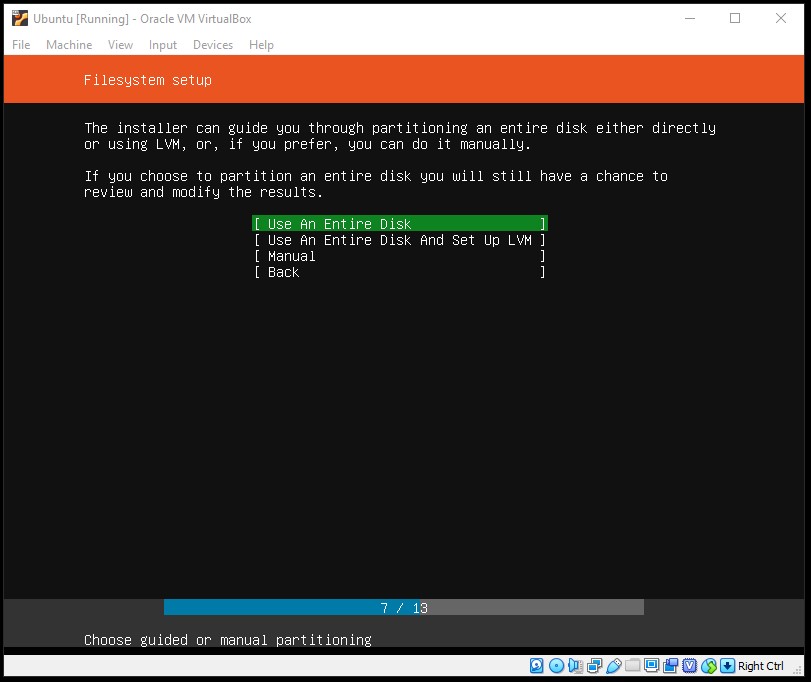
The Filesystem Setup Screen
The installer can guide you through partitioning an entire disk or, if you prefer, you can do it manually. If you choose to partition an entire disk you will still have a chance to review and modify the results before Ubuntu is installed. I selected “Use An Entire Disk”.
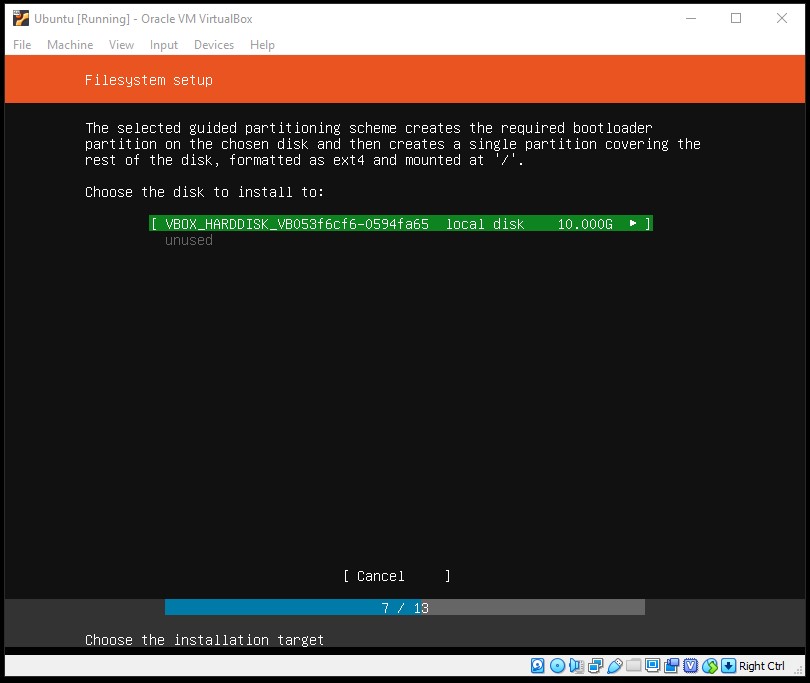
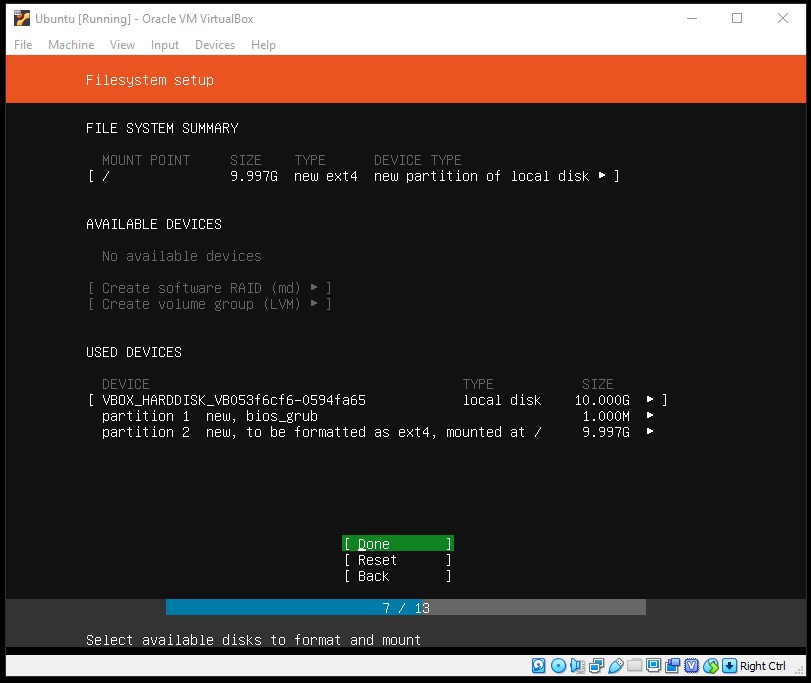
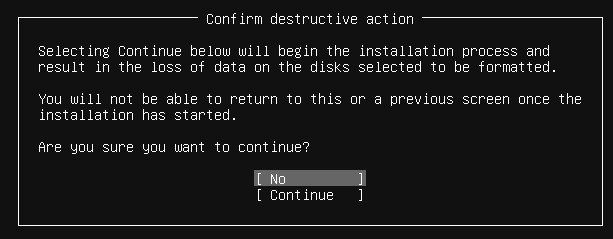
You will then be prompted to select the virtual machine’s hard disk as the disk to install to, before being shown a summary of what the installer would do. As this is a destructive action, you will have to confirm your choice with “Continue”.
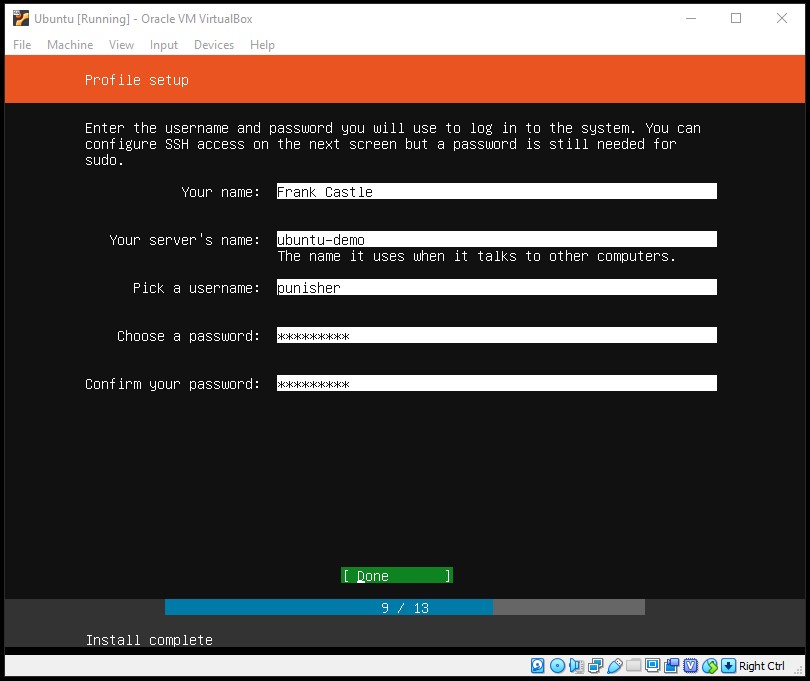
The Profile Setup Screen
Here you are required to enter:
Your (real) name
Your server’s name
Your username
Password
If you would like to import your SSH keys from GitHub or Launchpad
Complete this form, making sure to select “No” for “Import SSH identity”.
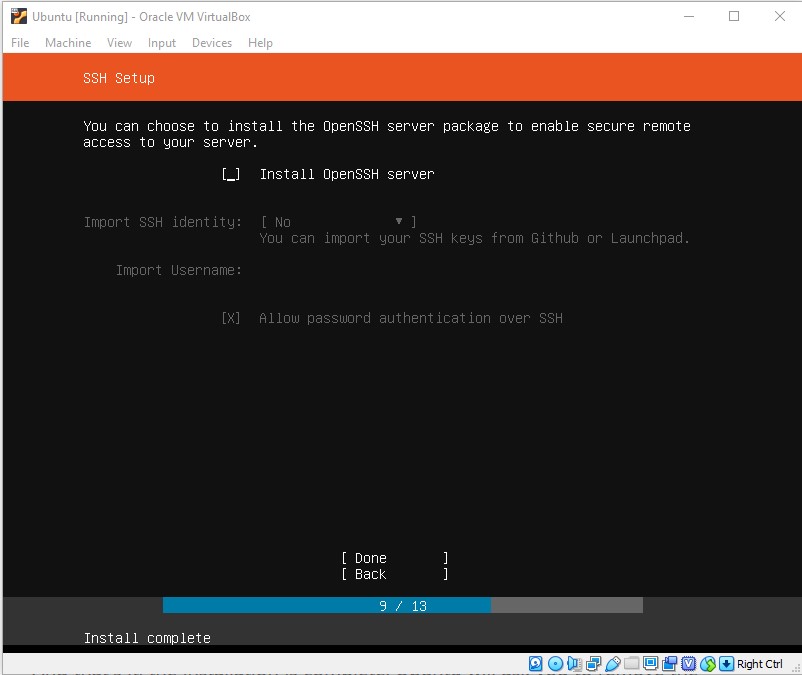
The SSH Setup Screen
You can choose to install OpenSSH server from this screen. We are going to skip this option for this tutorial.
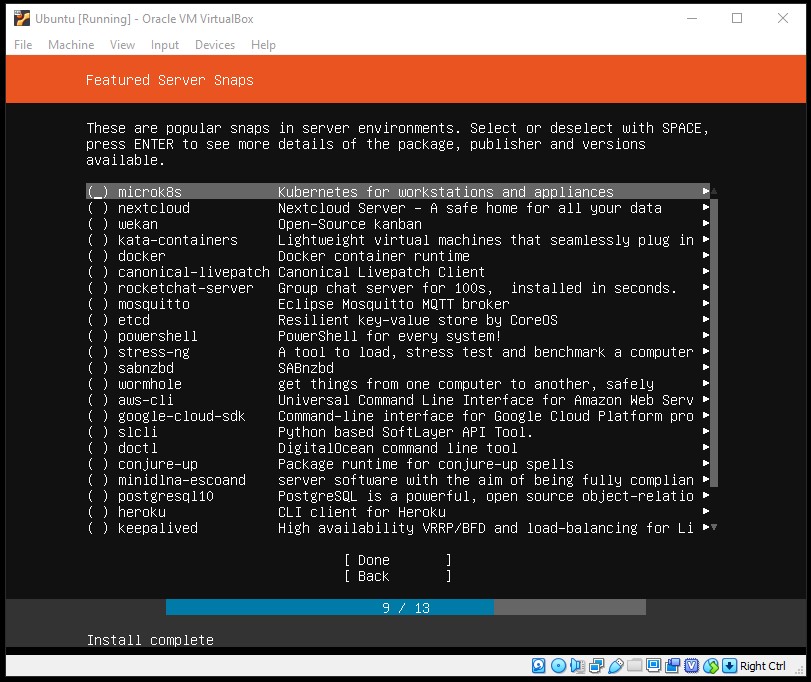
The Featured Server Snaps screen
Here you can select from a list of popular snaps to install on your system. Snaps are self-contained software packages that work across a range of Linux distributions. We are not going to make any section at this time.
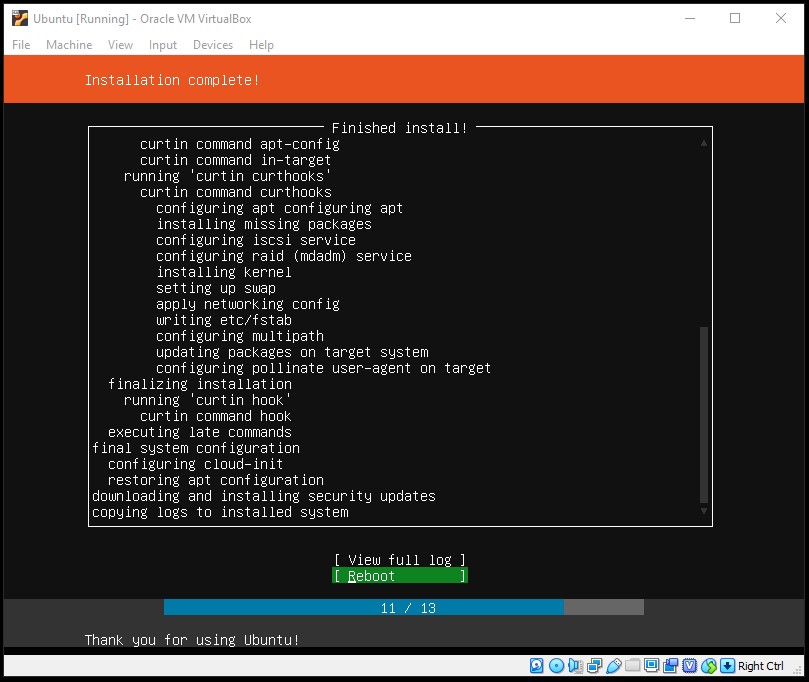
The Install Complete! Screen
This screen shows the script that runs to complete the installation. This will download and install security updates as well.
When the updates are done you can reboot the VM.
Up and Running with SSH
Once your virtual machine has rebooted and you have logged in, you will probably notice that some packages can be updated.
To do that you will run the below code.
sudo apt-get update
sudo apt-get upgrade
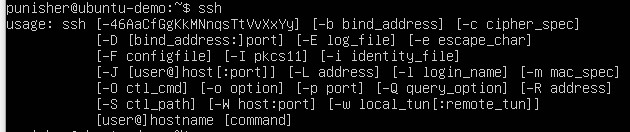
We will also check that SSH is installed (it should come bundled with Ubuntu Server)
If you get a response like the below screen shot, SSH is installed.
If you get a “command not found” error, you can install it with the below code.
sudo apt-get install openssh-server
The next step is to give our Ubuntu server a IP address on our local network. To do this, power off the virtual machine using sudo poweroff or by going through the Virtualbox Manager Machine -> ACPI Shutdown.
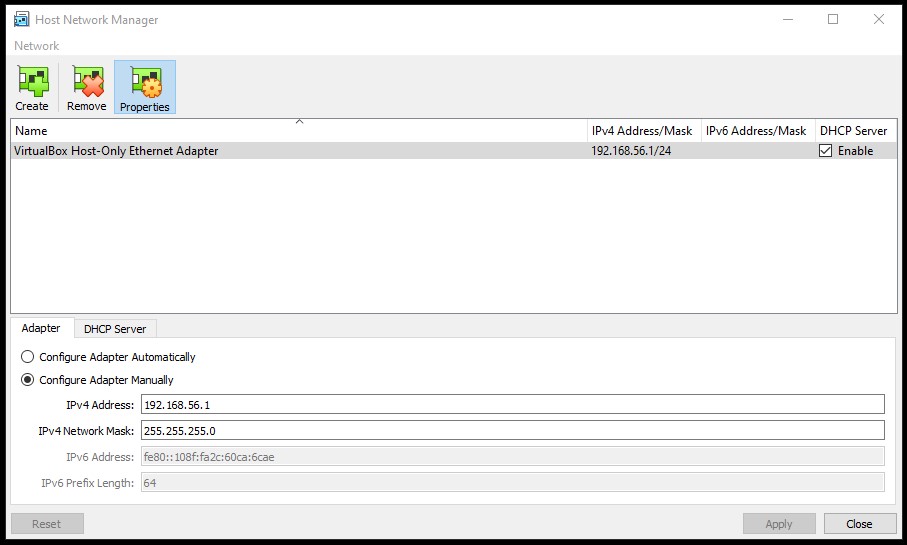
Then, in VirtualBox manager, go to File -> Host Network Manager and select “Create”. This will create a new virtual network. make sure to enable its DHCP server. Then click “Close”.
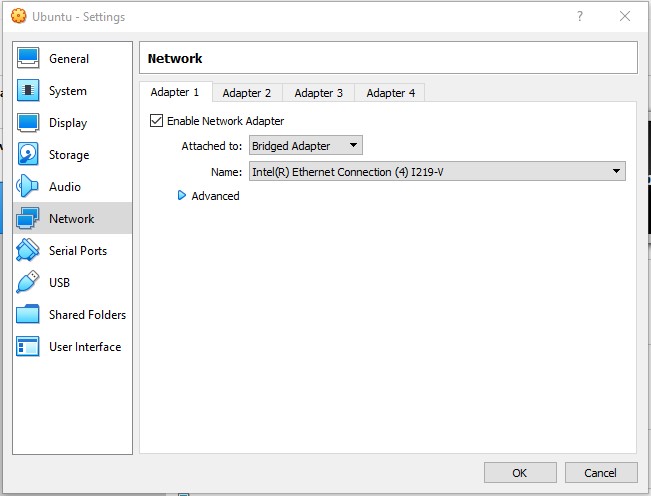
Now from the VirtualBox Manager, with the Ubuntu machine selected, click the “Settings” gear. On the new window select “Network” from the right hand side. Then on the Adapter 1 tab and set it to “Bridged Adapter”.
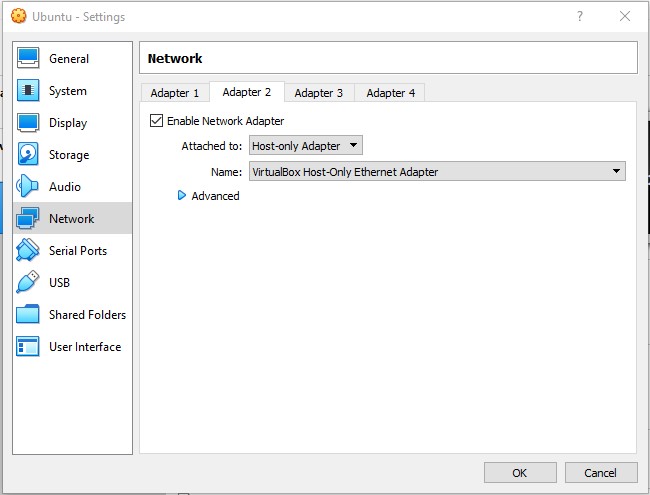
After that select the Adapter 2 tab. Check the “Enable Network Adapter” box and set it to “Host-only Adapter”
Finally, go to File -> Preferences -> Network. Under NAT Networks if you don’t see a NAT network click on the “+” icon to add one. Then click OK to dismiss the dialogue.
Now start up the virtual machine. After logging in enter ifconfig and note the new IP address assigned to the main network adapter.
Conclusion
This has been quite a long post, but by the end of it you will have a working installation of Ubuntu Server running on VirtualBox. There are defiantly a few more things we can configure to make life easier however. We can run the VM in Headless Mode and we can connect using SSH.