Manually adding data into a SQL Server is time-consuming and can be easy to make errors. Below you will find the steps needed to import a CSV into your database.
Steps to Import CSV File Using SQL Server Management Studio
In order to import CSV files using SQL Server Management Studio, you need to create a sample table in the SQL Server Management Studio. The table is important for the import of the CSV file. The screen shot below only focuses on particular columns of the table.
Step 1
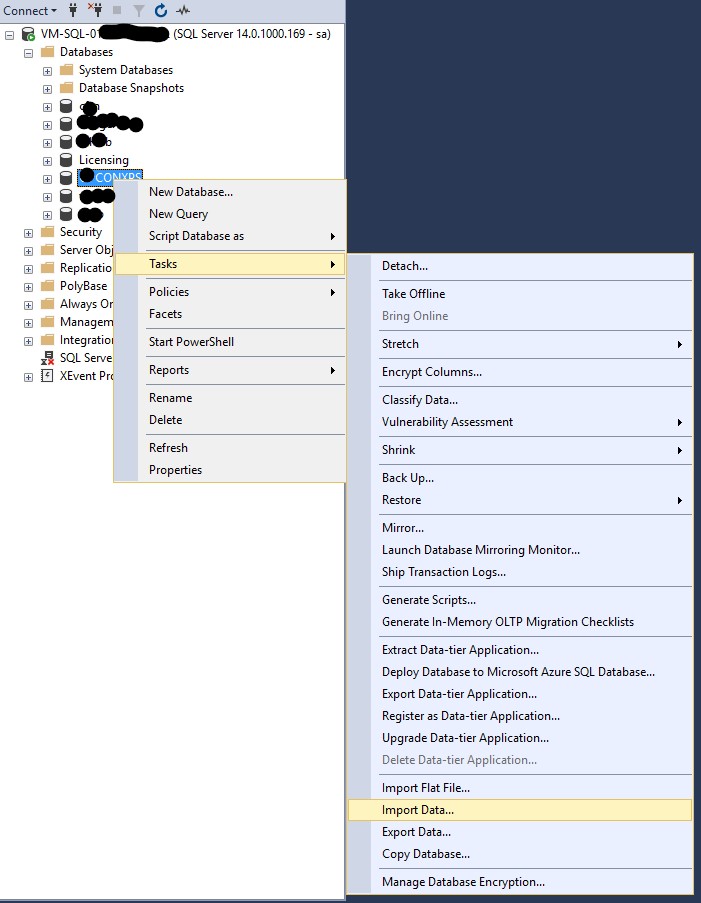
Open SQL Server Management Studio. Log into the target database. Right click the database -> Select Tasks -> Import Data
Step 2
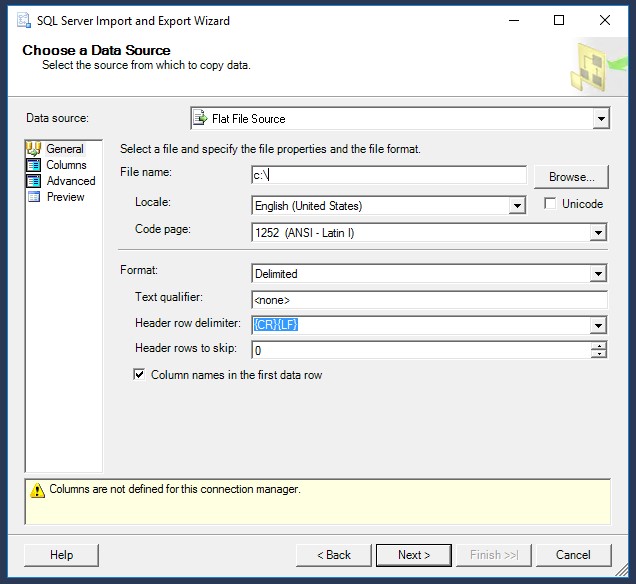
Please note that the SQL Import and Export Wizard might popped up. If so just click “Next”. The next screen is where you will select “Flat File Source” from the drop down, Browse to the CSV file and select “Next”.
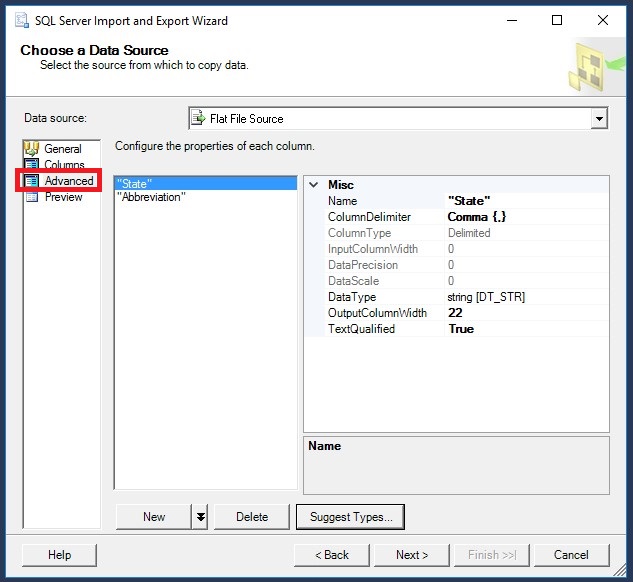
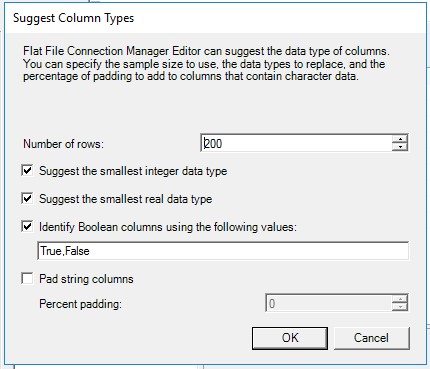
Step 3
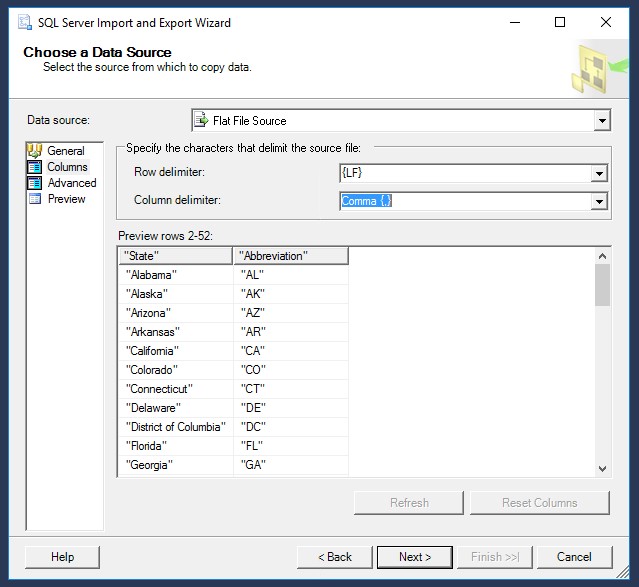
On the next screen you will see a preview of the rows. Here you can change the “Row delimiter” and the “Column delimiter”. Under “Advanced” you will need to select “Suggest Types” as the wizard will default all column width to 50. Suggest types will scan the given number of rows and try to set the details accordingly. When you have completed these items select “Next”.
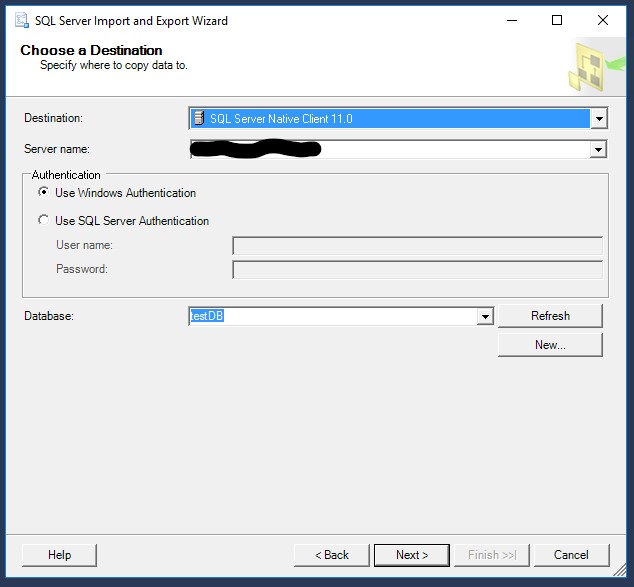
Step 4
You will now need to select the target database. Select “SQL Server Native Client 11.0” or your corresponding version in the “Destination” drop down. Select the correct server in the “Server name” drop down. Enter any authentications that maybe needed by the SQL server and select the correct database in the “Database” drop down. Then select “Next”.
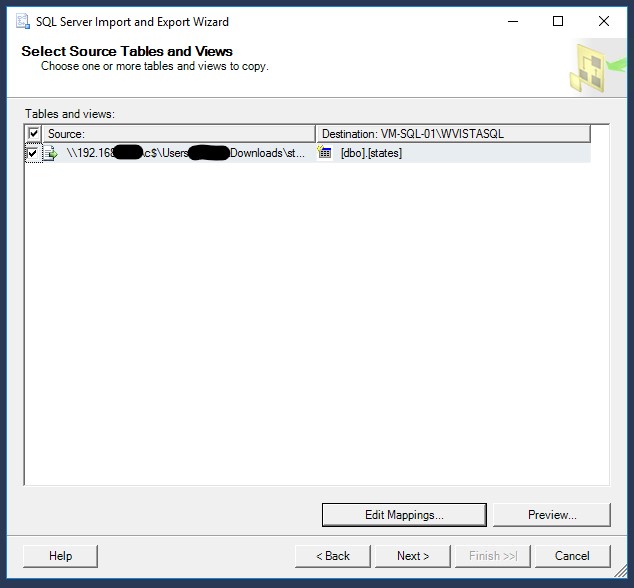
Step 5
On this screen you can adjust the tables and views. More often than not the wizard will select the correct once. If you need to make any changes select the “Edit Mappings…” button.
Step 6
On this screen you can choose to “Save SSIS Package”. For this guide we will leave the check box unchecked and select the “Next” button.

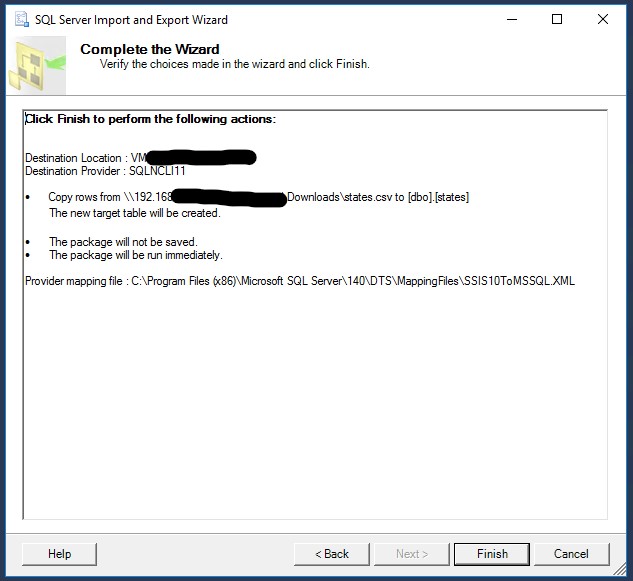
Step 7
You will now see a summery screen. If everything looks correct click the “Finish” button.
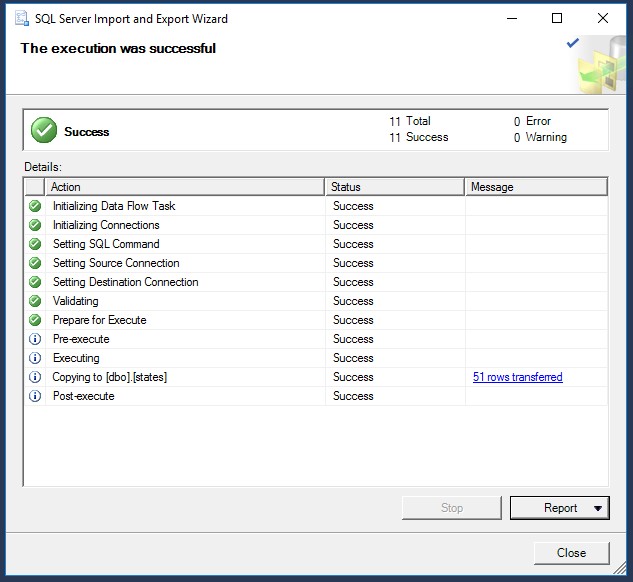
After the data has been imported you will see a screen like the image below. If there were any errors or warnings they will be displayed here.