I will be installing this using VirtualBox.
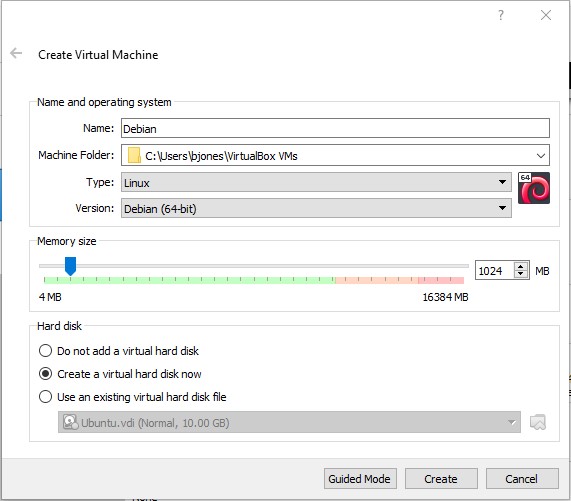
Create a new virtual machine by selecting the ‘New’ button in Oracle VM VirtualBox Manager
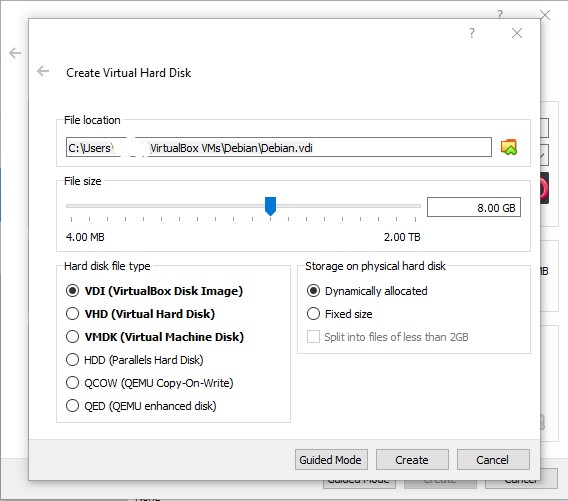
Now choose the location you would like to store your VDI file and select the size you would like to allocate. I will be setting the size to 8 GB and choosing to use a dynamically allocated storage. This will only use the space that the VM is using on my physical hard disk. Then select ‘Create’.
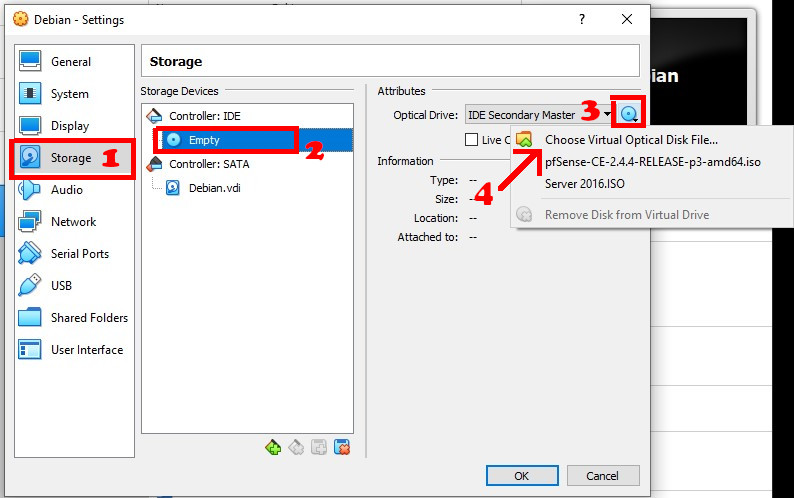
Now we need to mount out ISO. From the main manager screen, select your Debian machine on the left, then ‘Settings’ on the top. In the new dialog box, select ‘Storage’ on the left, then select the ‘Empty’ icon under ‘Storage Devices’. Now on the right select the disk icon next to ‘IDE Secondary Master’. Brows to wherever you downloaded your copy of Debian and select it. Now click ‘OK’.
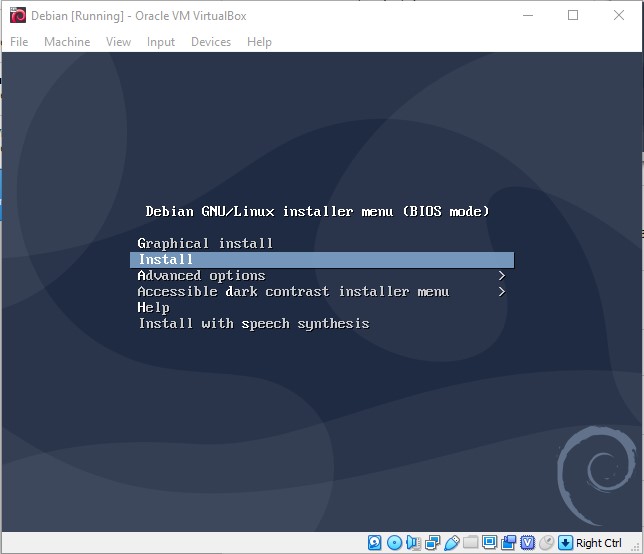
Now select ‘Start’. A new window will open, you should see the Debian GNU/Linux installer menu. From this menu you will select a ‘Graphical install’ or a non-graphical ‘Install’. I will be choosing the ‘Install’ option.
The next steps are straight forward. Select your language, choose your location and choose the keyboard layout.

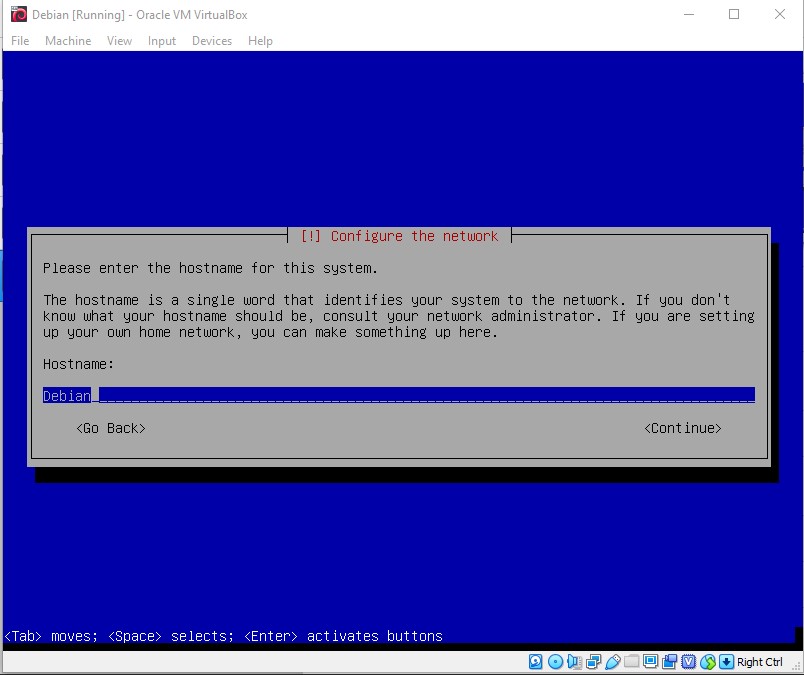
Now we will setup the network. My install picked up DHCP so we will configure a static IP address after we complete the setup. You will need to create a hostname. I am going to be very original and name it Debian.
As always you are going to want to create a strong password for the root user. In a future how-to we will disable the root user from SSH login. You will also need to create a new user for non admin use.

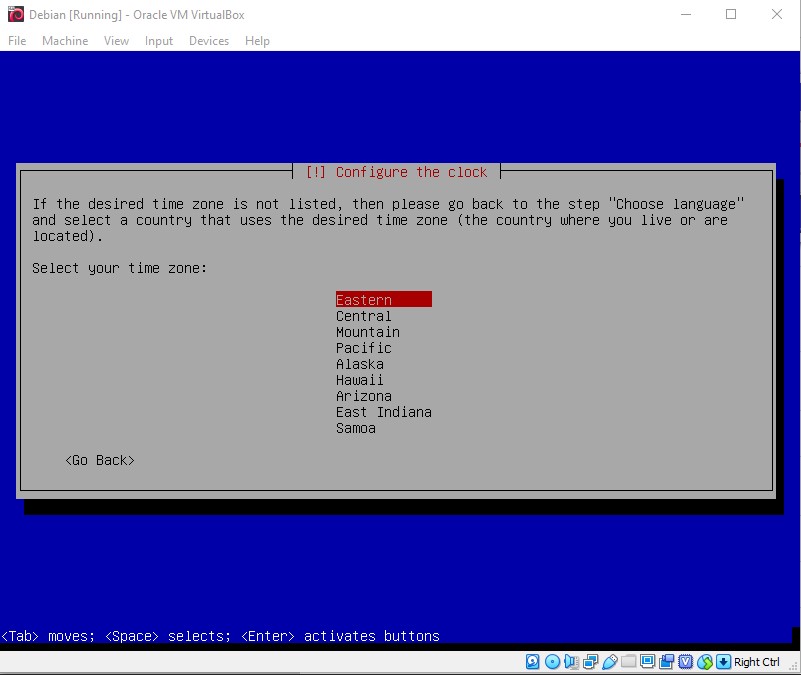
You may need to select your time zone.
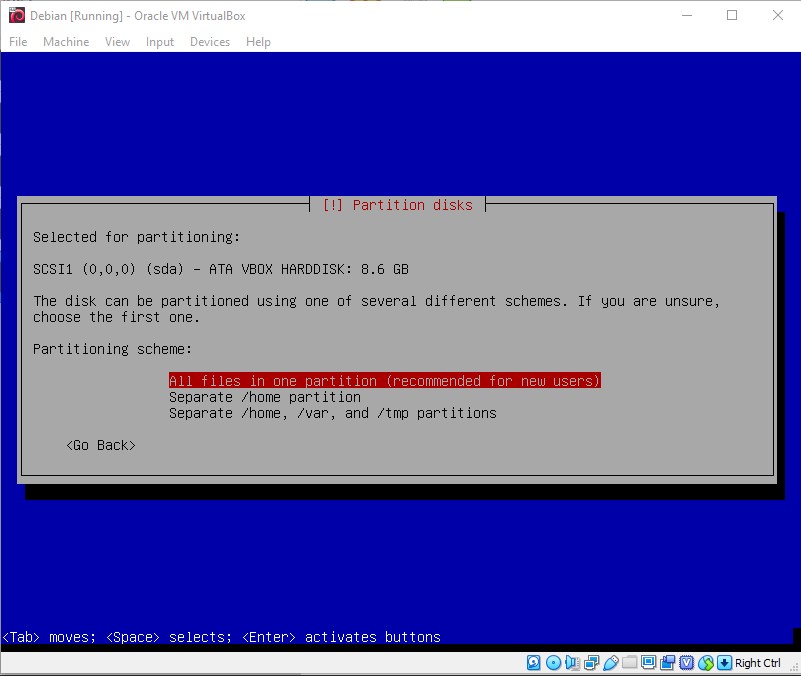
The next screen will be the options for partitioning the disk. I will be choosing the first option of “Guided – use entire disk”. Information on the other two guided options can be found <here>. Then select the disk to be partitioned.

You can make a few different selections on the next screen. I will be going with the first options.
If everything looks good, select ‘Finish partitioning and write changes to disk’. Because this will format the partition you have to confirm that you want to do this. Choose “Yes” on the next screen.

I will be choosing “No” on the next screen. You will need to select your country on the next screen. Then you will need to select the deb.debian.org mirror.

If you are using a proxy, you will enter the info on this screen. I will not, so it will be left blank.
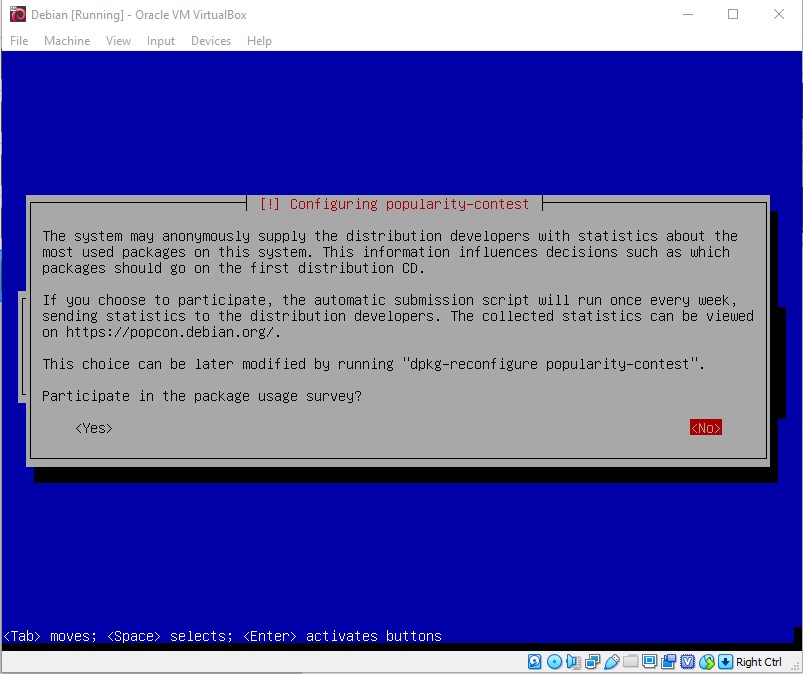
If you would like you can send statistics to the developers. I will be choosing ‘No’ for this.
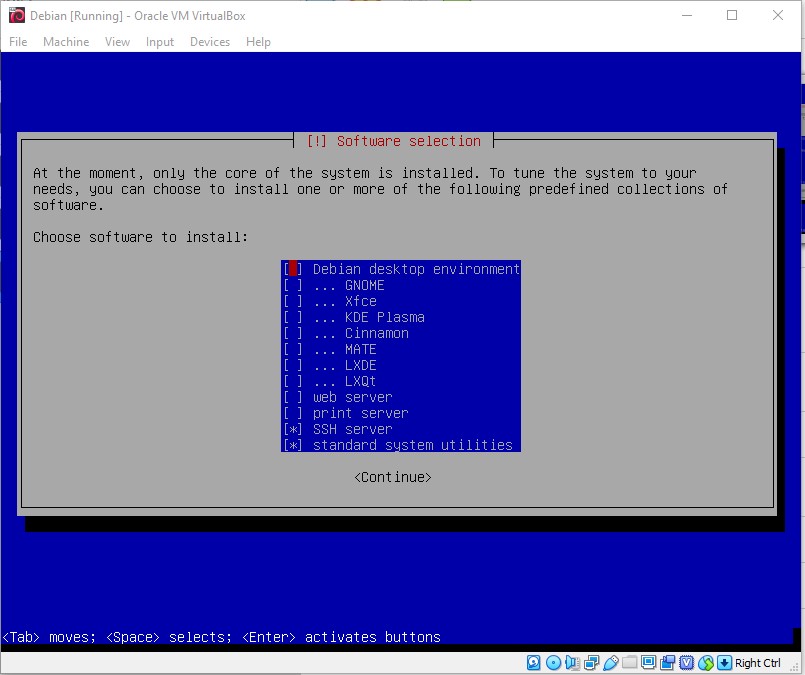
On this screen I will choose to not install a Debian desktop environment. I will also de-select print server and select SSH server.
Now we are going to choose ‘Yes’ to install the GRUB boot loader on the HD. Select /dev/sda option on the next screen

Lastly select ‘Continue’ to complete the installation.
If all has gone correctly the system should reboot. When the system is booted back up you should be at a Debian login prompt. Your next steps will be to install an SSH server, disable root SSH login and create a private key to use for SSH authentication.
https://amzn.to/3cpgaxB