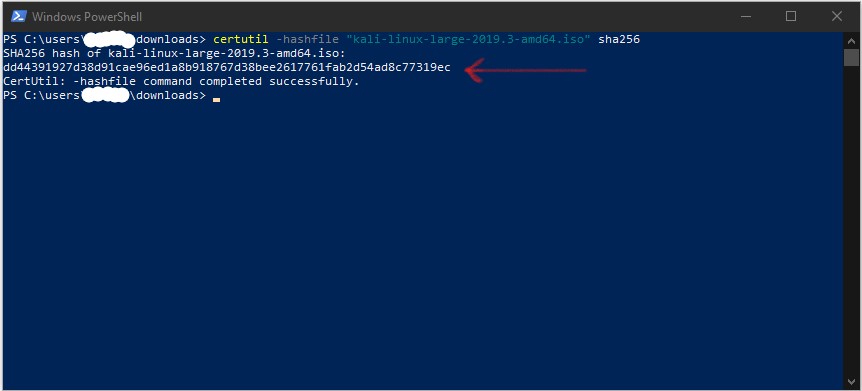
There are many options when it comes to Kali. You could install it with VMware, VirtualBox or installing on a physical machine. Available for download are, prebuild VM images, as well as different prebuild ISO’s, depending on the environment. I am going to download the full ISO, install manually, apply updates, and setup SSH. Head over to https://www.kali.org/downloads/ to download the latest ISO. Always make sure to check the hash of the file. To do this on Windows 10, simply open a PowerShell terminal, change directory to where you have the ISO saved and run the command “certutil -hashfile “name of file.iso” sha256”.
Creating the Virtual machine
I will be working with the HTML5 vSphere client for this.
- Right on your cluster and select “New Virtual Machine…”
- On the new dialog box choose “Create a new virtual machine”
- Give your virtual machine a name and select a location for the virtual machine
- Select the destination resources for the new virtual machine
- Choose the storage for this machine
- Select the compatibility for this machine
- Select the guest OS, I am choosing “Debian GNU/Linux 10(64-bit). This may very for future release.
- Customize the hardware, I will be giving this machine 2 CPU, 8GB memory and 60GB hard drive space. Make sure to select “Thin Provision” for disk provisioning as this can help conserved unused space in your data store.
- Finally review the setting you have chosen and click “Finish”

Mounting the ISO
You will first need to connect the cd/dvd drive to the ISO we downloaded earlier. To do this right click on the name of your new VM and choose “Edit Settings”, then expand “CD/DVD drive 1”. You will then need to select “Connect At Power On” and browse to the ISO.

Installing Kali
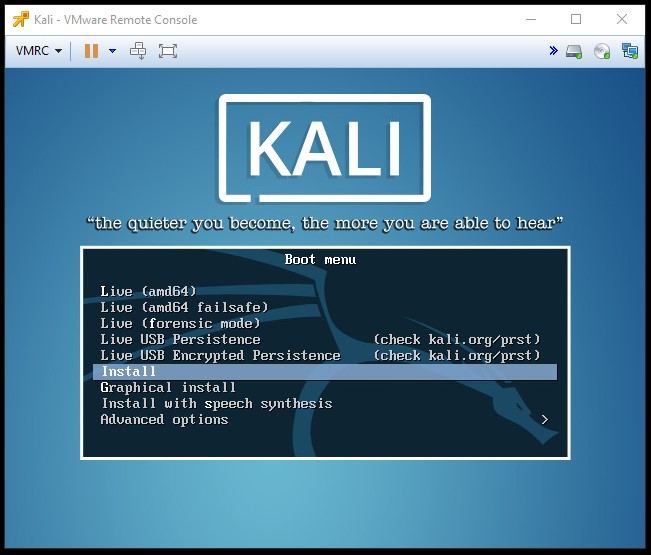
You can now power on the new virtual machine. Then choose “Launch Remote Console”.
When the boot menu appears, select “install”

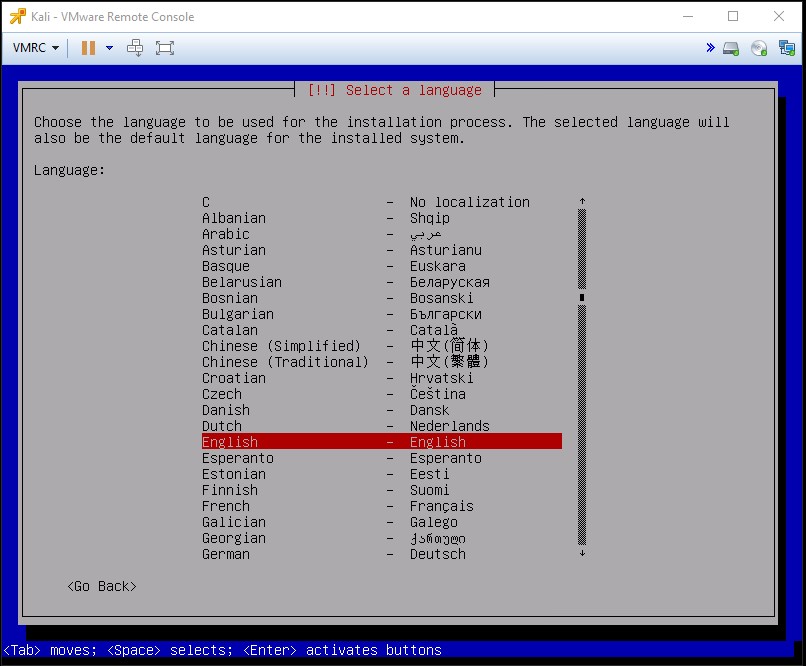
Choose a Language
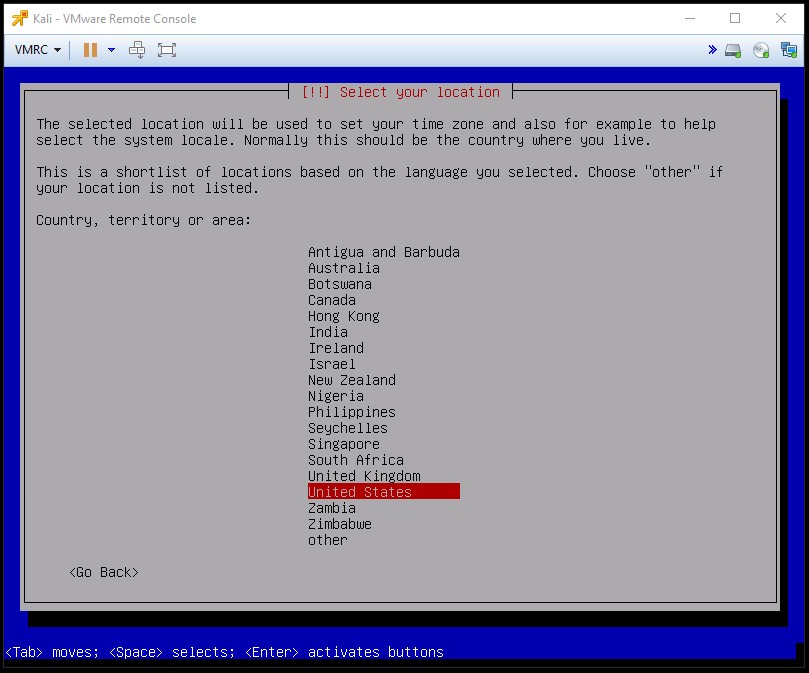
Select your location
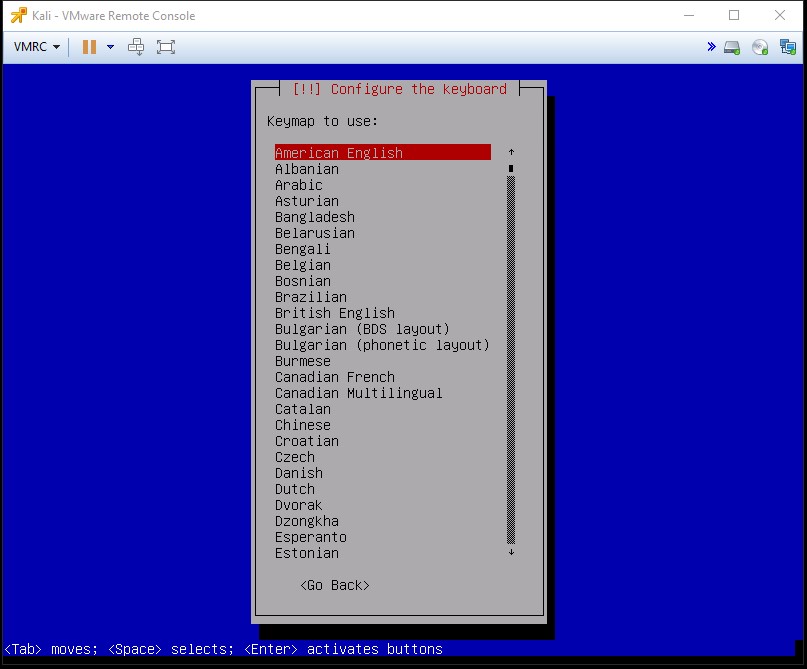
Choose your keyboard layout
Enter the hostname for this installation

Enter your domain name (if you have one)

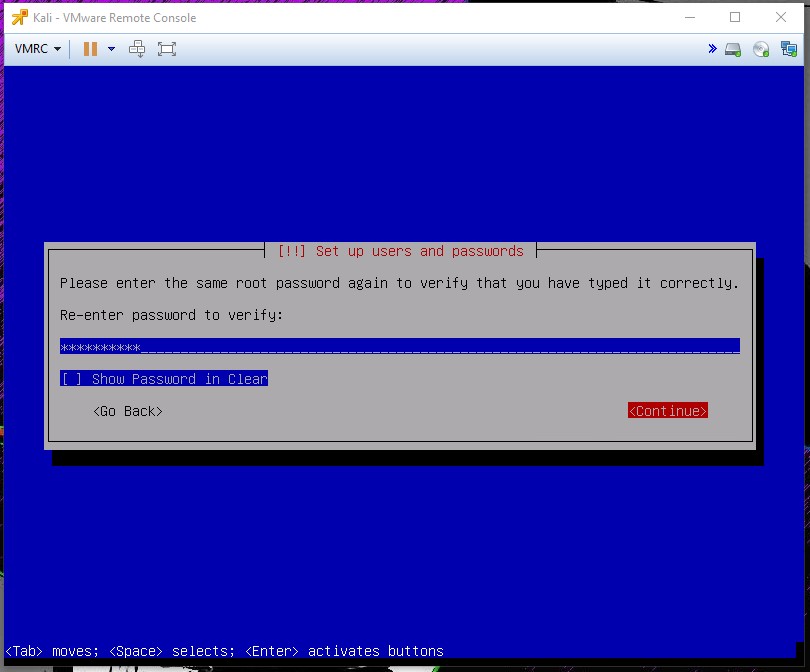
Enter a password for the Root user

Re-Enter the password for the Root user
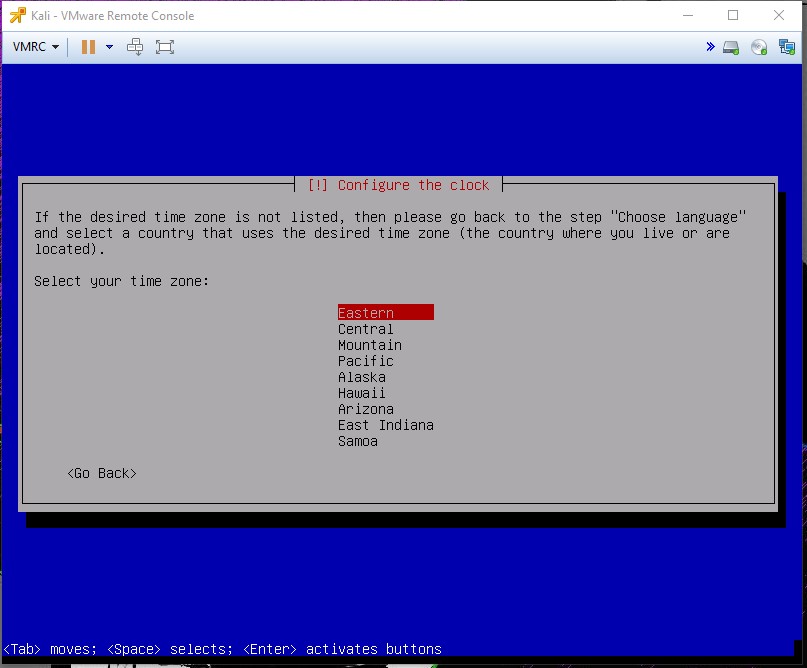
The next screen with try and set the time from your network. This may or may not work.
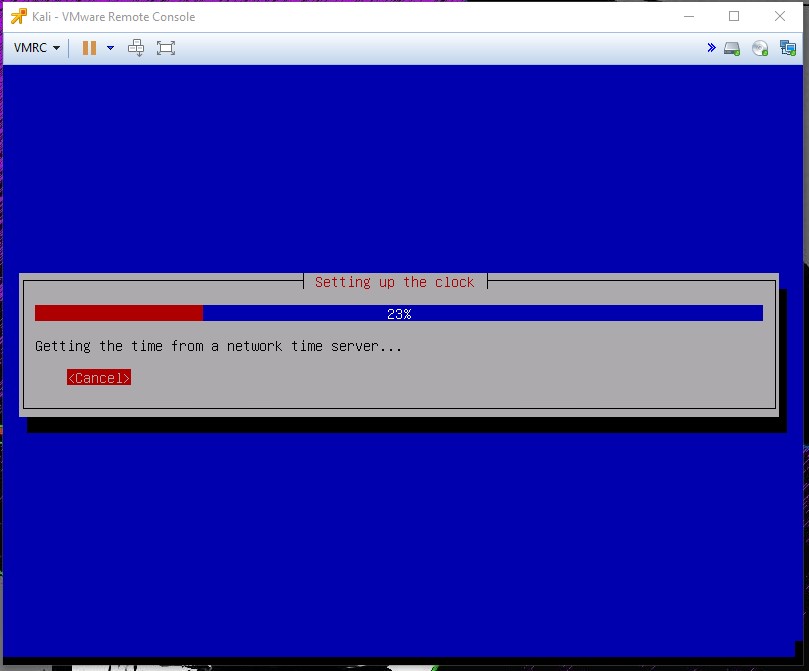
If this was not successful choose the correct time zone from this list.
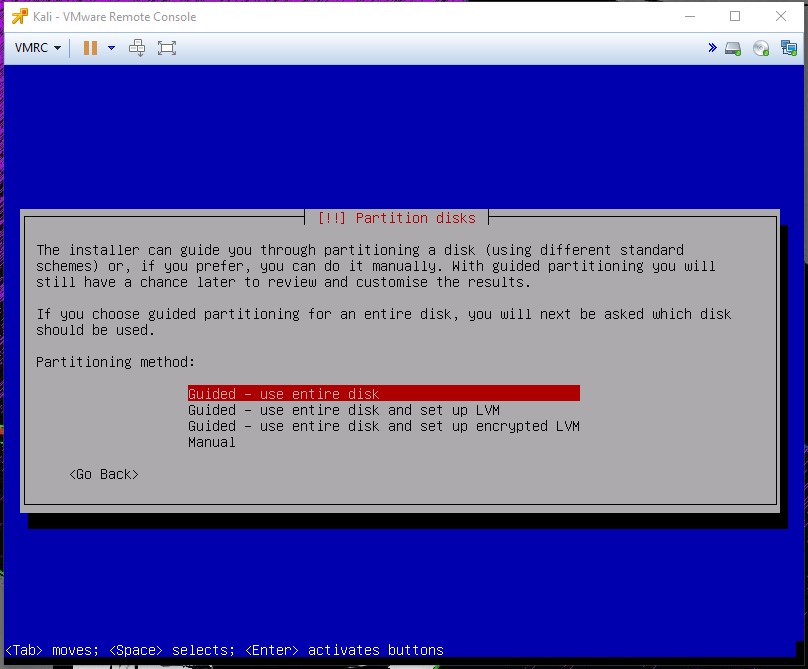
The next screen will be the options for partitioning the disk. I will be choosing the first option of “Guided – use entire disk”. Information on the other two guided options can be found <here>
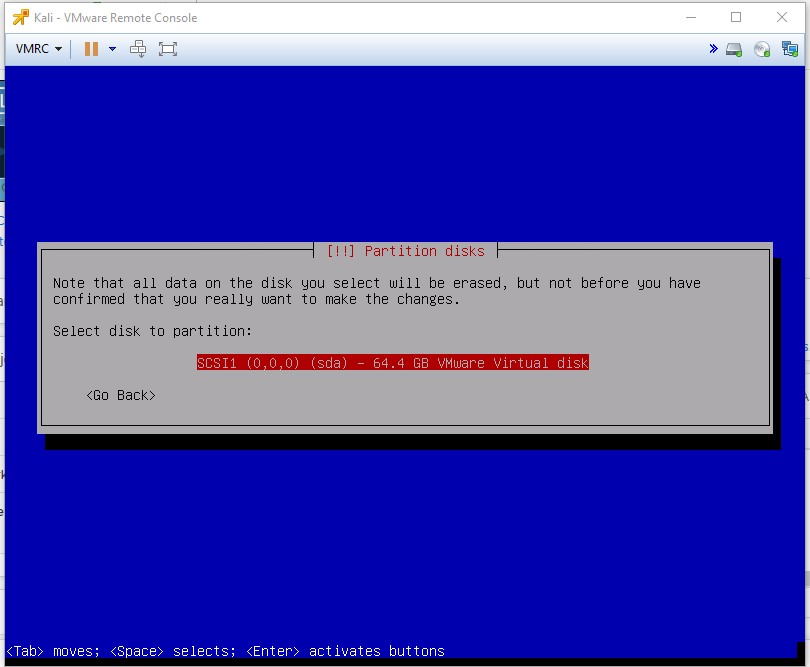
Select the disk to be partitioned
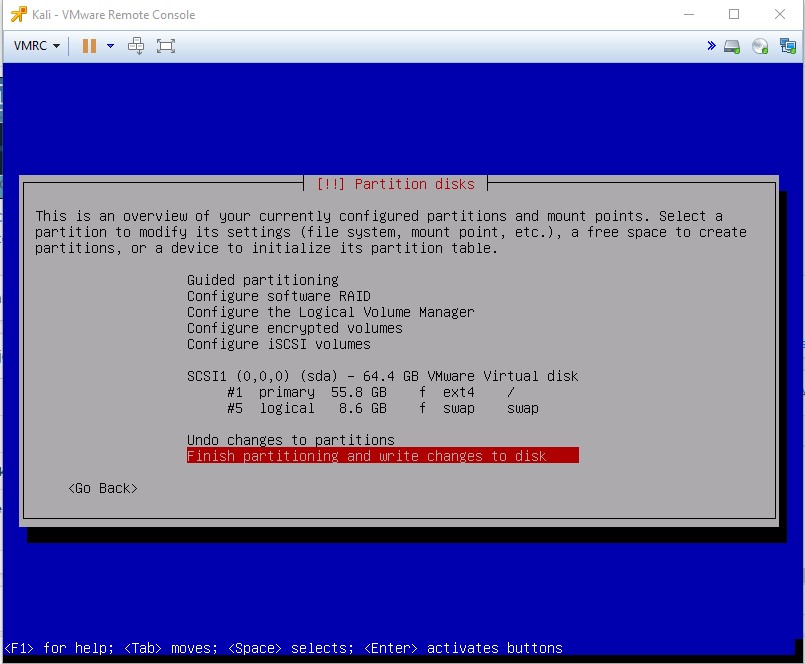
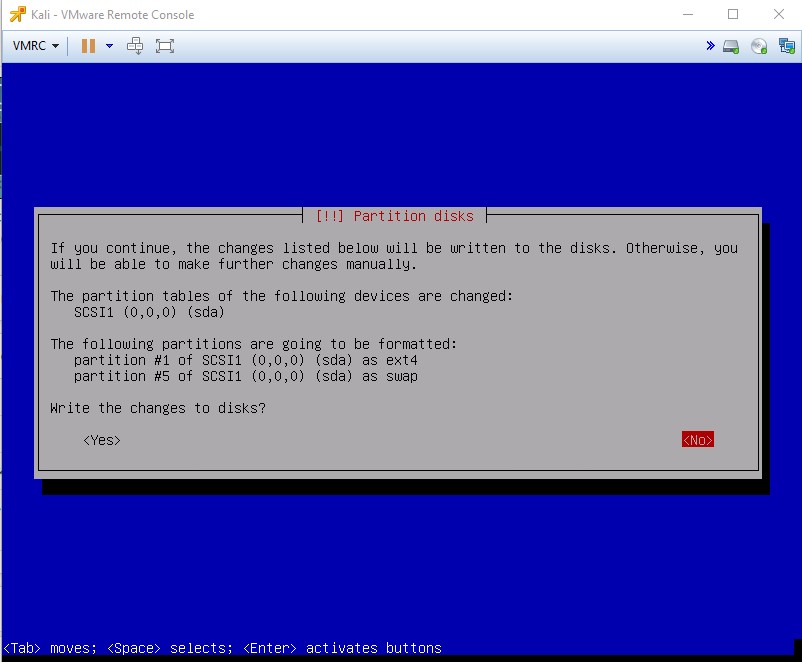
If everything looks good, select “Finish partitioning and write changes to disk”
Because this will format the partition you have to confirm that you want to do this. Choose “Yes” on the next screen.
I will be choosing “No” on the next screen, you can however read more about network mirrors and package manager https://docs.kali.org/community/kali-linux-mirrors.

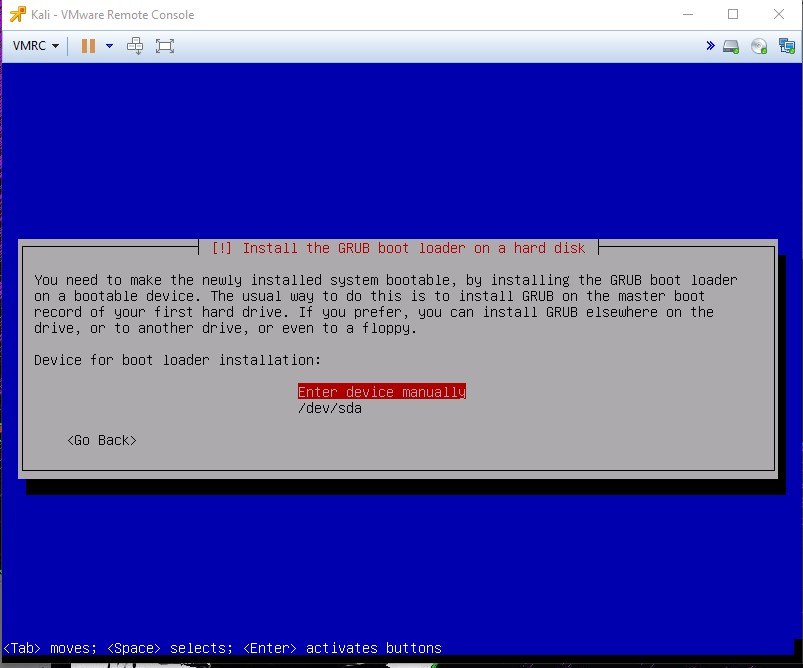
Choose “Yes” to install the GRUB boot loader on the HD.

Select the /dev/sda option on the next screen.
The installation is now complete, click “Continue”
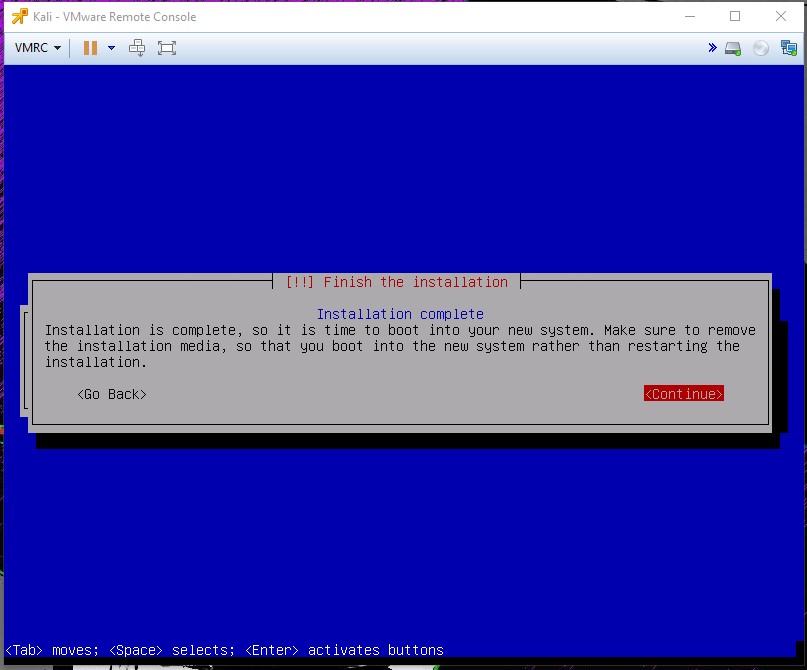
The machine will reboot. You should be presented with the log on screen. Log into the new machine with the root user and password setup during installation.

That’s it, you now have Kali Linux installed in your VMware environment. The next steps will be updating the apps and upgrading the distribution. If you want to set a static IP address you can find that info here.